Click for large image

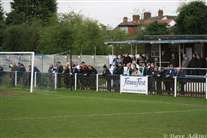
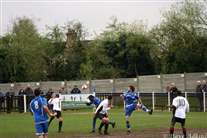
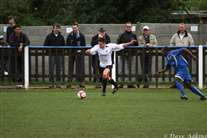
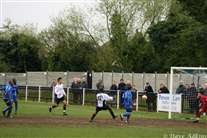
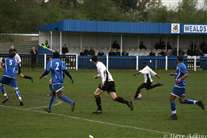
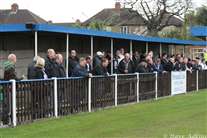
1_The_Dartford_supporters_were_well_spread_out_around_the_ground.jpg

1 The Dartford supporters were well spread out around the ground.jpg

Click for large image

2_Tony_watching_carefully.jpg

2 Tony watching carefully.jpg

Click for large image

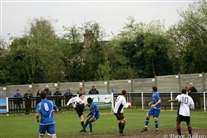
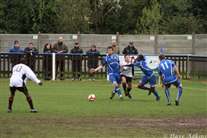
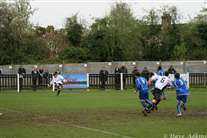
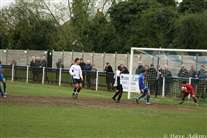
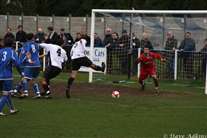
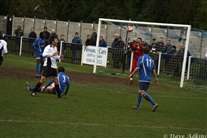
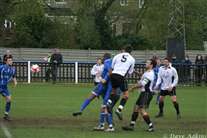
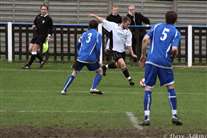
3_The_keeper_gets_between_Jamie_and_Jay_to_get_his_punch_in.jpg

3 The keeper gets between Jamie and Jay to get his punch in.jpg

Click for large image

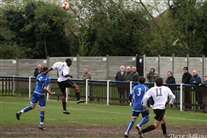
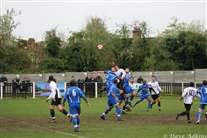
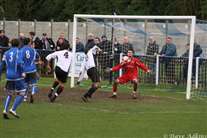
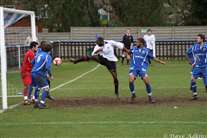
4_Andrew_goes_down_bravely_and_forces_the_ball_wide_into_the_side_netting.jpg

4 Andrew goes down bravely and forces the ball wide into the side netting.jpg

Click for large image

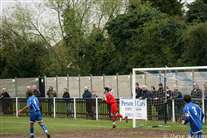
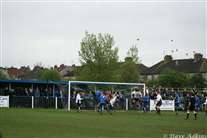
5_Butter_s_corner_kick_reaches_Craig........jpg

5 Butter's corner kick reaches Craig........jpg

Click for large image

6_...who_hits_it......jpg

6 ...who hits it......jpg

Click for large image

7_..but_it_s_easy_for_the_keeper_to_catch_it.jpg

7 ..but it's easy for the keeper to catch it.jpg

Click for large image

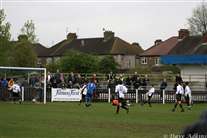
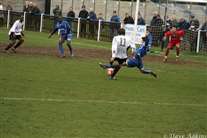
8_Craig_leaves_the_defender_floundering.......jpg

8 Craig leaves the defender floundering.......jpg

Click for large image

9_...and_brings_it_into_the_area_before_being_sandwiched.jpg

9 ...and brings it into the area before being sandwiched.jpg

Click for large image

10_Craig_sends_the_ball_over......jpg

10 Craig sends the ball over......jpg

Click for large image

11_.....Bradley_gets_his_head_to_it........jpg

11 .....Bradley gets his head to it........jpg

Click for large image

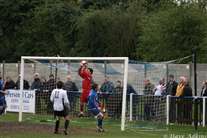
12_...but_the_keeper_catches_it_under_the_bar.jpg

12 ...but the keeper catches it under the bar.jpg

Click for large image

13_Butters_sends_the_free_kick_in.....jpg

13 Butters sends the free kick in.....jpg

Click for large image

14_..Bradley_flicks_it_on.....jpg

14 ..Bradley flicks it on.....jpg

Click for large image

15_Jay_climbs_to_the_ball......jpg

15 Jay climbs to the ball......jpg

Click for large image

16_...Bradley_races_for_it.....jpg

16 ...Bradley races for it.....jpg

Click for large image

17_...gets_a_boot_to_it.....jpg

17 ...gets a boot to it.....jpg

Click for large image

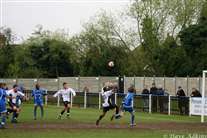
18_...Now_how_is_that_ball_not_over_the_line.jpg

18 ...Now how is that ball not over the line.jpg

Click for large image

19_Adam_Flanagan_gets_his_head_to_the_ball.jpg

19 Adam Flanagan gets his head to the ball.jpg

Click for large image

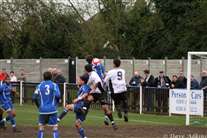
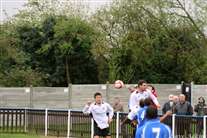
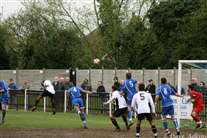
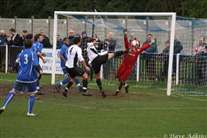
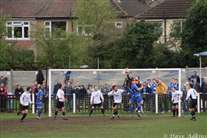
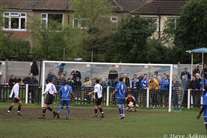
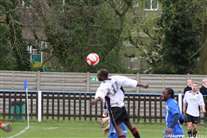
20_Adam_Flanagan_and_Jay_jump_for_Jamie_Coyle_s_free_kick.......jpg

20 Adam Flanagan and Jay jump for Jamie Coyle's free kick.......jpg

Click for large image

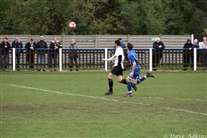
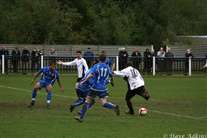
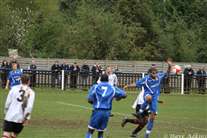
21_..Jay_recovers_and_gets_a_boot_to_the_ball.....jpg

21 ..Jay recovers and gets a boot to the ball.....jpg

Click for large image

22_...the_keeper_stands_up_to_Jay.......jpg

22 ...the keeper stands up to Jay.......jpg

Click for large image

23_...and_bravely_denies_Jay.jpg

23 ...and bravely denies Jay.jpg

Click for large image

24_Butters_gets_his_shot_in__but_the_defender_gets_a_last_minute_tackle_in......jpg

24 Butters gets his shot in, but the defender gets a last minute tackle in......jpg

Click for large image

25_...enabling_the_keeper_to_catch_it_easily.jpg

25 ...enabling the keeper to catch it easily.jpg

Click for large image

26_Jay_runs_onto_a_pass_from_Bradley.....jpg

26 Jay runs onto a pass from Bradley.....jpg

Click for large image

27_...gets_his_shot_in......jpg

27 ...gets his shot in......jpg

Click for large image

28_...only_to_see_it_pass_the_wrong_side_of_the_post.jpg

28 ...only to see it pass the wrong side of the post.jpg

Click for large image

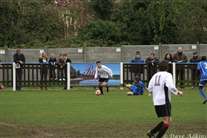
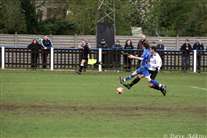
29_Bradley_tries_his_luck_from_outside_the_area.jpg

29 Bradley tries his luck from outside the area.jpg

Click for large image

30_Jamie_nods_the_corner_down......jpg

30 Jamie nods the corner down......jpg

Click for large image

31_..Bradley_tries_to_get_on_th_eend_of_it__but_is_unsuccessful.jpg

31 ..Bradley tries to get on th eend of it, but is unsuccessful.jpg

Click for large image

32_Andy_punches_clear.jpg

32 Andy punches clear.jpg

Click for large image

33_Andy_collects_the_ball.jpg

33 Andy collects the ball.jpg

Click for large image

34_Bradley_turns_and_shoots_but_its_wide.jpg

34 Bradley turns and shoots but its wide.jpg

Click for large image

35_The_usual_suspects.jpg

35 The usual suspects.jpg

Click for large image

36_Ryno_gets_his_cross_in.......jpg

36 Ryno gets his cross in.......jpg

Click for large image

37_...but_it_s_just_too_high_for_Bradley.jpg

37 ...but it's just too high for Bradley.jpg

Click for large image

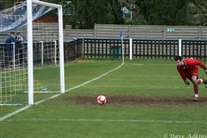
38_That_s_handball_and_SHOULD_be_a_penalty_-_but_not_according_to_that_ref.jpg

38 That's handball and SHOULD be a penalty - but not according to that ref.jpg