Click for large image

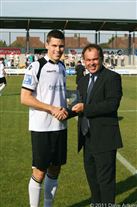
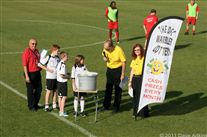
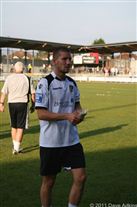
1_Charlie_receives_the_BSB_South_player_of_the_month_award.jpg

1 Charlie receives the BSB South player of the month award.jpg

Click for large image

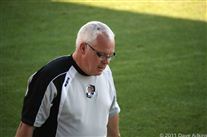
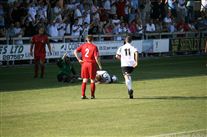
2_Dave_Phillips_walks_back_after_treating_Ryan.jpg

2 Dave Phillips walks back after treating Ryan.jpg

Click for large image

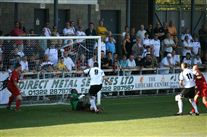
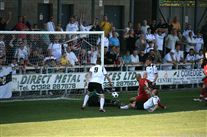
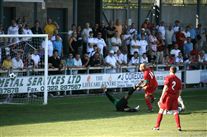
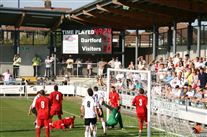
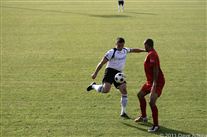
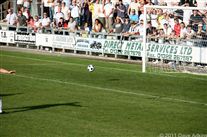
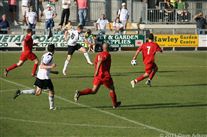
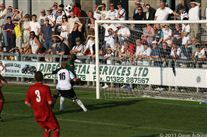
3_The_keeper_somehow_manages_to_block_Charlies_shot.......jpg

3 The keeper somehow manages to block Charlies shot.......jpg

Click for large image

4_...then_James_has_a_go.....jpg

4 ...then James has a go.....jpg

Click for large image

5_...but_the_keepers_there_again.....jpg

5 ...but the keepers there again.....jpg

Click for large image

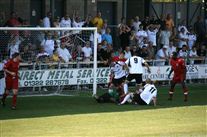
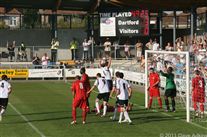
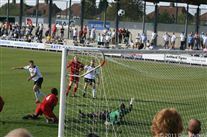
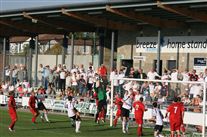
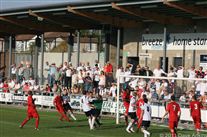
6_...and_finally_gets_the_ball_in_amongst_a_flurry_of_legs.jpg

6 ...and finally gets the ball in amongst a flurry of legs.jpg

Click for large image

7_James_waits_for_the_ball.....jpg

7 James waits for the ball.....jpg

Click for large image

8_...and_he_s_so_fast_the_camera_couldn_t_keep_up_.....jpg

8 ...and he's so fast the camera couldn't keep up .....jpg

Click for large image

9_...neither_could_the_keeper_1-0_Darts.jpg

9 ...neither could the keeper 1-0 Darts.jpg

Click for large image

10_James_celebrates.jpg

10 James celebrates.jpg

Click for large image

11_Elliot_runs_onto_Danny_s_cross......jpg

11 Elliot runs onto Danny's cross......jpg

Click for large image

12_...cuts_across_the_defender.....jpg

12 ...cuts across the defender.....jpg

Click for large image

13_...and_shoots.....jpg

13 ...and shoots.....jpg

Click for large image

14_...2-0_Darts.jpg

14 ...2-0 Darts.jpg

Click for large image

15_Elliots_winded_but_the_balls_in_the_net.jpg

15 Elliots winded but the balls in the net.jpg

Click for large image

16_Danny_gets_an_arm_in_the_face_-_but_it_s_adjudged_to_be_outside_the_area.jpg

16 Danny gets an arm in the face - but it's adjudged to be outside the area.jpg

Click for large image

17_Ryan_squares_the_free_kick_to_James.....jpg

17 Ryan squares the free kick to James.....jpg

Click for large image

18_...who_passes_back_to_Ryan....jpg

18 ...who passes back to Ryan....jpg

Click for large image

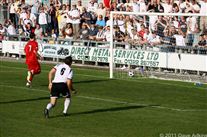
19_...Danny_jumps_highest_to_meet_Ryan_s_cross.....jpg

19 ...Danny jumps highest to meet Ryan's cross.....jpg

Click for large image

20_...but_it_s_wide.jpg

20 ...but it's wide.jpg

Click for large image

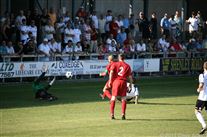
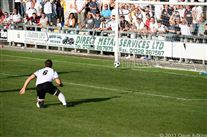
21_Ryan_Cooper_on_for_an_injured_Matt_Jones.jpg

21 Ryan Cooper on for an injured Matt Jones.jpg

Click for large image

22_Charlie_rises_to_meet_the_ball.....jpg

22 Charlie rises to meet the ball.....jpg

Click for large image

23_..where_s_it_going.....jpg

23 ..where's it going.....jpg

Click for large image

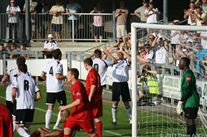
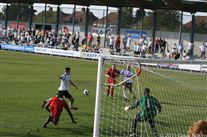
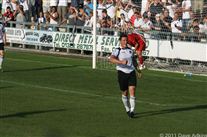
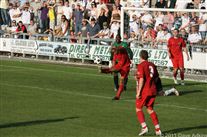
24_...in_the_back_of_the_net_3-0_Darts_and_Charlie_celebrates.jpg

24 ...in the back of the net 3-0 Darts and Charlie celebrates.jpg

Click for large image

25_Lee_Burns_tries_a_shot.....jpg

25 Lee Burns tries a shot.....jpg

Click for large image

26_...oh_so_close.jpg

26 ...oh so close.jpg

Click for large image

27_Warbler_draw_at_half_time.jpg

27 Warbler draw at half time.jpg

Click for large image

28_Ryan_Cooper_threads_the_ball_through.jpg

28 Ryan Cooper threads the ball through.jpg

Click for large image

29_Ryan_takes_the_corner.jpg

29 Ryan takes the corner.jpg

Click for large image

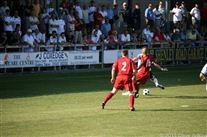
30_.._Tom__Bonner__has_his_eyes_on_the_ball.....jpg

30 .. Tom (Bonner) has his eyes on the ball.....jpg

Click for large image

31_...and_it_s_in_the_net_4-0_Darts.jpg

31 ...and it's in the net 4-0 Darts.jpg

Click for large image

32_This_time_it_s_Tom_s_turn_to_celebrate.jpg

32 This time it's Tom's turn to celebrate.jpg

Click for large image

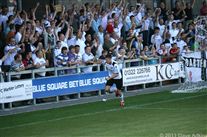
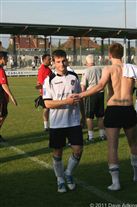
33_bit_early_for_high_fives_we_ve_only_scored_4.jpg

33 bit early for high fives we've only scored 4.jpg

Click for large image

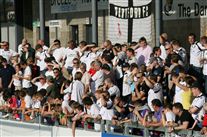
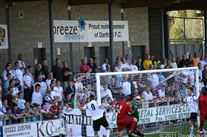
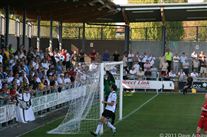
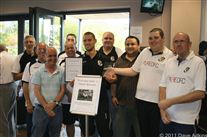
34_The_match_sponsors__or_at_least_some_of_them__deliberate_on_their_MOTM.jpg

34 The match sponsors (or at least some of them) deliberate on their MOTM.jpg

Click for large image

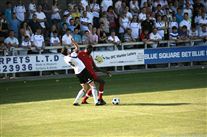
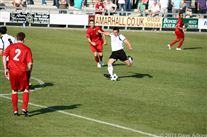
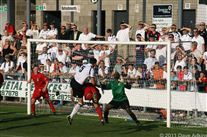
35_The_Harrow_borough_player_braces_himself_as_Lee_prepares_to_hit_the_ball.jpg

35 The Harrow borough player braces himself as Lee prepares to hit the ball.jpg

Click for large image

36_Charlie_steadies_himself.....jpg

36 Charlie steadies himself.....jpg

Click for large image

37_...and_shoots....jpg

37 ...and shoots....jpg

Click for large image

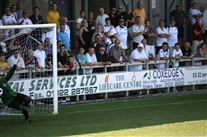
38_...but_the_keeper_gets_everything_behind_the_ball_and_it_s_over_the_bar.jpg

38 ...but the keeper gets everything behind the ball and it's over the bar.jpg

Click for large image

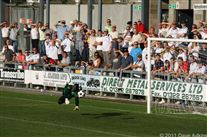
39_one_of_the_few_things_Andy_had_to_do_all_afternoon.jpg

39 one of the few things Andy had to do all afternoon.jpg

Click for large image

40_Lee_Burns_is_clear......jpg

40 Lee Burns is clear......jpg

Click for large image

41_...he_prepares_himself.....jpg

41 ...he prepares himself.....jpg

Click for large image

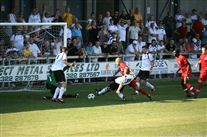
42_...and_shoots_as_the_keeper_spreads_himself......jpg

42 ...and shoots as the keeper spreads himself......jpg

Click for large image

43_...is_it_going_to_makes_it.......jpg

43 ...is it going to makes it.......jpg

Click for large image

44_...nearly.....jpg

44 ...nearly.....jpg

Click for large image

45_..oh_yessss_5-0.jpg

45 ..oh yessss 5-0.jpg

Click for large image

46_get_in_there.jpg

46 get in there.jpg

Click for large image

47_Jack_shoots.....jpg

47 Jack shoots.....jpg

Click for large image

48_...forcing_a_save_from_the_keeper.jpg

48 ...forcing a save from the keeper.jpg

Click for large image

49_Tom_cannot_get_enoght_on_the_ball_and_his_header_goes_high.jpg

49 Tom cannot get enoght on the ball and his header goes high.jpg

Click for large image

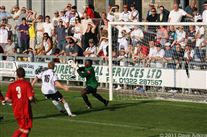
50_Jack_puts_the_keeper_under_pressure......jpg

50 Jack puts the keeper under pressure......jpg

Click for large image

51_...forcing_him_to_fumble.....jpg

51 ...forcing him to fumble.....jpg

Click for large image

52_...and_then_recover_to_deny_Jack_the_header.....jpg

52 ...and then recover to deny Jack the header.....jpg

Click for large image

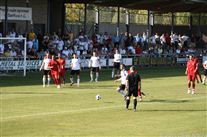
53_..and_the_defender_finally_hooks_it_clear.jpg

53 ..and the defender finally hooks it clear.jpg

Click for large image

54_The_sponsors_salute_MOTM_James_Rogers.jpg

54 The sponsors salute MOTM James Rogers.jpg

Click for large image

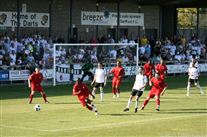
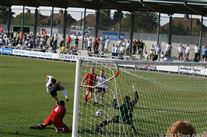
55_Once_again_the_keeper_fumbles_the_ball.....jpg

55 Once again the keeper fumbles the ball.....jpg

Click for large image

56_..but_recovers_before_Tom_or_Lee_can_react.jpg

56 ..but recovers before Tom or Lee can react.jpg

Click for large image

57_Jack_Pallen.jpg

57 Jack Pallen.jpg

Click for large image

58_Ryan_Cooper.jpg

58 Ryan Cooper.jpg

Click for large image

59_Standard_face_from_Lee.jpg

59 Standard face from Lee.jpg

Click for large image

60_James_Rogers.jpg

60 James Rogers.jpg

Click for large image

61_Tom_Bonner.jpg

61 Tom Bonner.jpg

Click for large image

62_Adam_Green.jpg

62 Adam Green.jpg

Click for large image

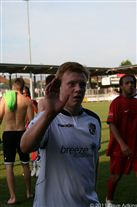
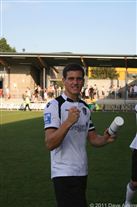
63_James_recieves_his_MOTM_from_the_sponsors_1.jpg

63 James recieves his MOTM from the sponsors 1.jpg

Click for large image

64_James_recieves_his_MOTM_from_the_sponsors_2.jpg

64 James recieves his MOTM from the sponsors 2.jpg

Click for large image

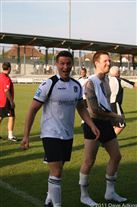
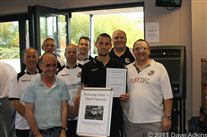
65_Bill_Archer_presents_Breeze_with_a_signed_Home_Shirt.jpg

65 Bill Archer presents Breeze with a signed Home Shirt.jpg