

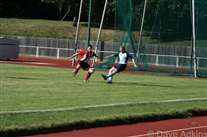
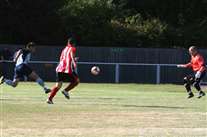
3_...but_the_keeper_gets_there_before_Lee_can.jpg
3 ...but the keeper gets there before Lee can.jpg

4_Lee_tussles_for_the_ball_while_Rob_watchees.jpg
4 Lee tussles for the ball while Rob watchees.jpg

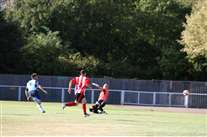
5_The_Keeper_gets_down_to_Ryno_s_chipped_freekick.jpg
5 The Keeper gets down to Ryno's chipped freekick.jpg

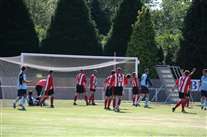
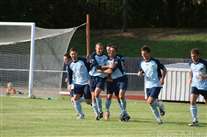
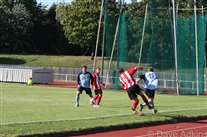
6_It_took_3_Urchins_to_keep_the_league_s_leading_scorer_quiet.jpg
6 It took 3 Urchins to keep the league's leading scorer quiet.jpg

7_Adam__F__meets_Ryno_s_corner_but_it_s_just_wide.jpg
7 Adam (F) meets Ryno's corner but it's just wide.jpg

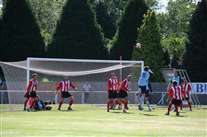
9_The_Urchins_keeper_gets_ready_to_punch_clear.jpg
9 The Urchins keeper gets ready to punch clear.jpg

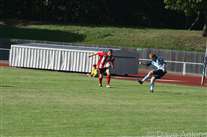
10_The_Urchins_keeper_does_well_to_tip_this_one_over_the_bar.jpg
10 The Urchins keeper does well to tip this one over the bar.jpg
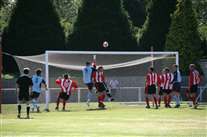
11_It_s_punch_time_again_for_the_Urchins_keeper......jpg
11 It's punch time again for the Urchins keeper......jpg
12_....Elliot_gets_up_to_head_the_poor_punch......jpg
12 ....Elliot gets up to head the poor punch......jpg


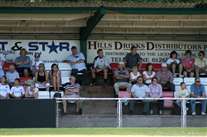
20_Billy_takes_a_drink_whilst_the_2nd_injured_Lino_is_attended_to.jpg
20 Billy takes a drink whilst the 2nd injured Lino is attended to.jpg

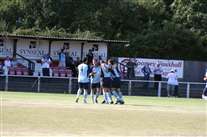
24_Lee_practices_the_hammer_throw_for_a_goal_celebration.jpg
24 Lee practices the hammer throw for a goal celebration.jpg
26_This_time_it_s_Jamie_D_in_the_corner_sending_the_ball_over.......jpg
26 This time it's Jamie D in the corner sending the ball over.......jpg

27_Jay_steadies_himself_for_the_header_but_it_s_just_wide.jpg
27 Jay steadies himself for the header but it's just wide.jpg
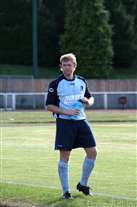
28_John_Beales_takes_the_ball_down_the_rutted_touchline.jpg
28 John Beales takes the ball down the rutted touchline.jpg