Click for large image

1_Tommy_in_the_thick_of_it_again.jpg

1 Tommy in the thick of it again.jpg

Click for large image

2_Tommy_O_clears.jpg

2 Tommy O clears.jpg

Click for large image

3_John_G_gets_an_acrobatic_cross_in_......jpg

3 John G gets an acrobatic cross in ......jpg

Click for large image

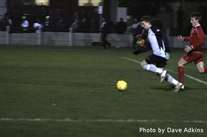
4_....Ryno_cannot_get_enough_of_a_boot_on_Johns_flick.jpg

4 ....Ryno cannot get enough of a boot on Johns flick.jpg

Click for large image

5_It_takes_2_to_keep_Rob_quiet.jpg

5 It takes 2 to keep Rob quiet.jpg

Click for large image

6_Safe_pair_of_hands_as_usual.jpg

6 Safe pair of hands as usual.jpg

Click for large image

7_Cody_goes_past_the_defender_....jpg

7 Cody goes past the defender ....jpg

Click for large image

8_..but_a_last_ditch_tackle_denies_him.jpg

8 ..but a last ditch tackle denies him.jpg

Click for large image

9__Scott_clears_the_danger.jpg

9 Scott clears the danger.jpg

Click for large image

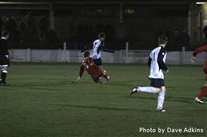
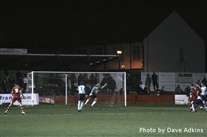
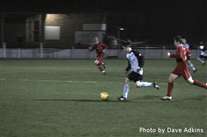
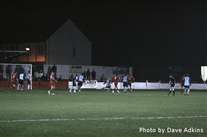
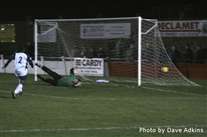
10_Andy_dives_but_no_problems_it_s_over_the_bar.jpg

10 Andy dives but no problems it's over the bar.jpg

Click for large image

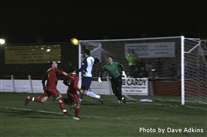
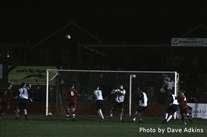
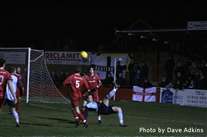
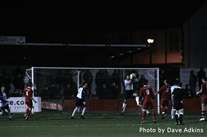
11_Rob_gets_his_head_to_the_ball_but_it_s_straight_at_the_keeper.jpg

11 Rob gets his head to the ball but it's straight at the keeper.jpg

Click for large image

12_Sean_creates_the_overlap.jpg

12 Sean creates the overlap.jpg

Click for large image

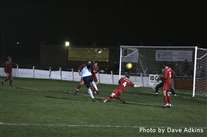
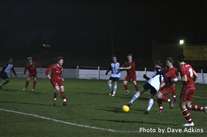
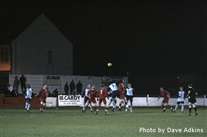
13_Rob_s_shot_takes_the_faintest_of_deflections_out_for_a_corner.jpg

13 Rob's shot takes the faintest of deflections out for a corner.jpg

Click for large image

14_Jamie_day_runs_up.......jpg

14 Jamie day runs up.......jpg

Click for large image

15_...the_keeper_misses_it_and_it_s_1-0.jpg

15 ...the keeper misses it and it's 1-0.jpg

Click for large image

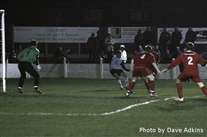
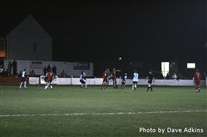
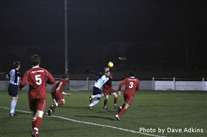
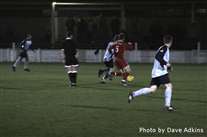
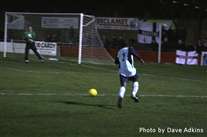
16_Ryno_sends_a_teasing_ball_across_the_area_but_there_s_no-one_there.jpg

16 Ryno sends a teasing ball across the area but there's no-one there.jpg

Click for large image

17_Cody_clear_but_his_shot_is_just_wide.jpg

17 Cody clear but his shot is just wide.jpg

Click for large image

18_Lee_starts_one_of_his_crossfield_runs.jpg

18 Lee starts one of his crossfield runs.jpg

Click for large image

19_Andy_gets_ready_to_punch_clear.jpg

19 Andy gets ready to punch clear.jpg